
Social media is filled with a lot of content. All thanks to the 50% of the world’s population that are on social media including you and me.
It’s pretty obvious that social media marketing can play a crucial role in business. And it’s the place to monetize your passion. And more importantly, it’s a long-term game which means you need to keep creating content consistently and share it to build an audience.
But the problem is you haven’t got all day. You have other things to do, including watching the latest TV show on Netflix.
So, what’s the solution?
Templates.
Yes, templates can save a lot of time. It’s a bit time taking to come up with creative design ideas every time you want to post something. So, instead of designing everything from scratch, why not use a template for similar content types?
Related: 10 Websites To Find Free Social Media Design Templates (PSD Files)
When you create a template in Photoshop, all you need to do is replace the text, images, and colors to make a new design. But make sure you design multiple templates for multiple content types.
And do you know? Using similar templates on social media creates a strong visual brand. So, let’s see how we can create on in Adobe Photoshop.
First of all, you need to know the basics of photoshop for you to understand this. If you don’t know, you can refer to this article and make yourself familiar with the basic panels, tools & their functions of this powerful software.
Now, before designing a template, you need to make sure you have the answers to these questions:
It’s necessary to know the social platform before designing so that we can fix the size. For this case, let’s choose Facebook. So the size (resolution) will be 1200px*628px.
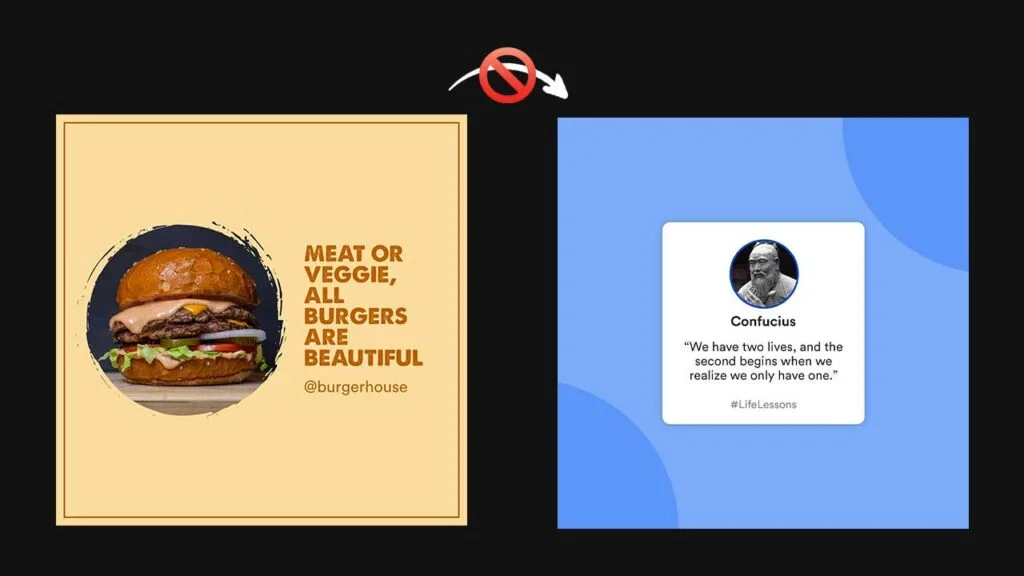
Regarding the content type, we can’t use a testimonial template and make a giveaway post from it. Or a quote post into a signup post. What do I mean is that,
We cannot do this: (Although both are quote posts, they are designed differently). So it doesn’t make sense to use the left one to create the right one.
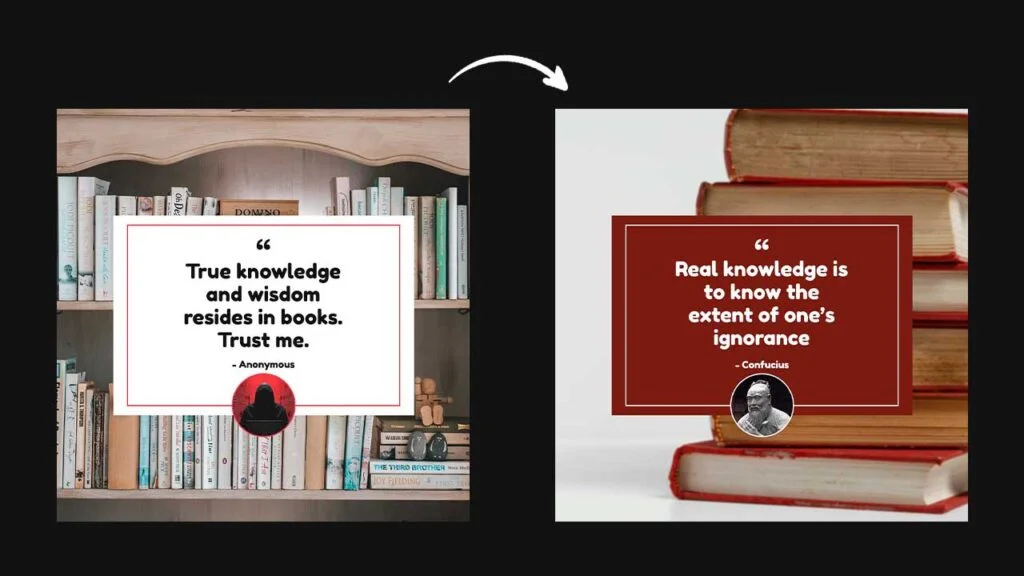
But we can do this:
For the sake of this article, let’s assume that the content type is: “Sales Post” for an Ecommerce company.
Regarding social media design, I’ve already talked about the design framework that I follow. And I’ve also written an article on how to design social media posts in Photoshop. Make sure you check the links provided to get better at designing.
Now, let’s start designing the sales post.
The first step is to create a new canvas with the size – W=1200px, H=628px, DPI=300. And then remove the lock on the background layer in the layers panel. And add a colored background using the “solid color” option from the bottom panel (adjustment layers).

Now, import the image (Image link) of the product. To do that, go to the file and click on “Place Embedded”. Align the image to the right, and adjust the image in a circle by creating a clipping mask. Something like this:

Then add the heading, body text (product description), and CTA (button).
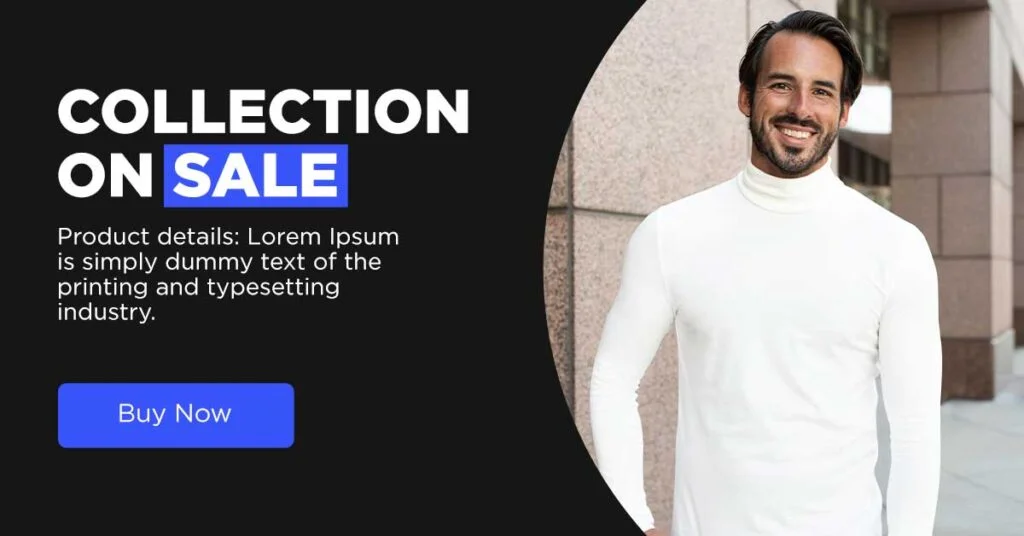
After that, to make the offer pop up, add a circle and place the offer inside the circle. Finally, add a border to the circle (dotted border) and the clipping mask (with some offset).

That’s it. Done.
But, what we have created is a post. Not to convert into a template, we need to make sure the contents are easily replaceable.
To make sure the image is perfectly replaceable in the perfect size, select all (CMD + A) and click on the image layer in the layers panel. Then apply a layer mask.
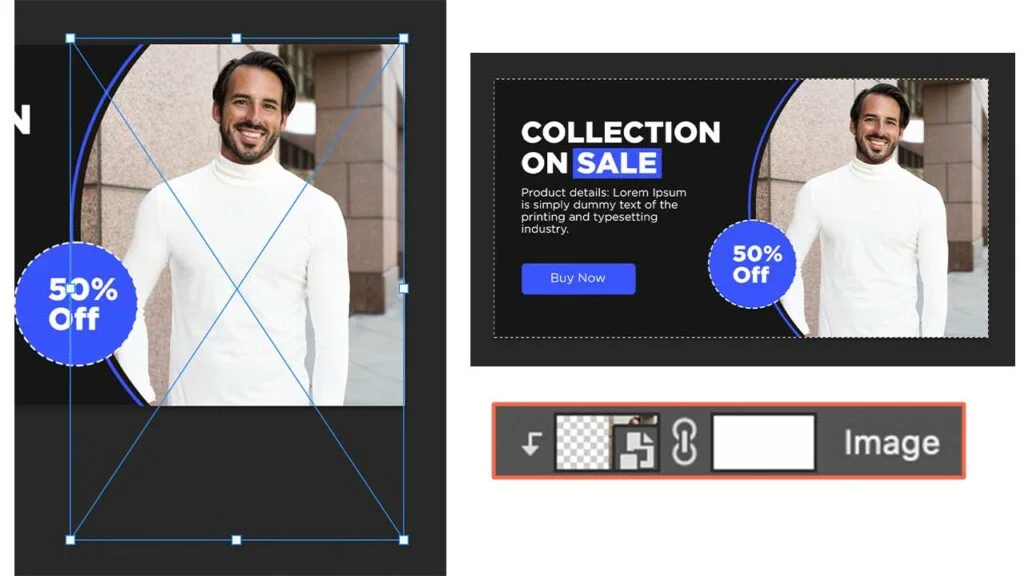
Doing this will make the image area that is outside the canvas will disappear. But won’t delete it. To do that, right-click on the layer and click on convert to a smart object (again? yes). Now, rasterize. Done? Now again, make it a smart object.
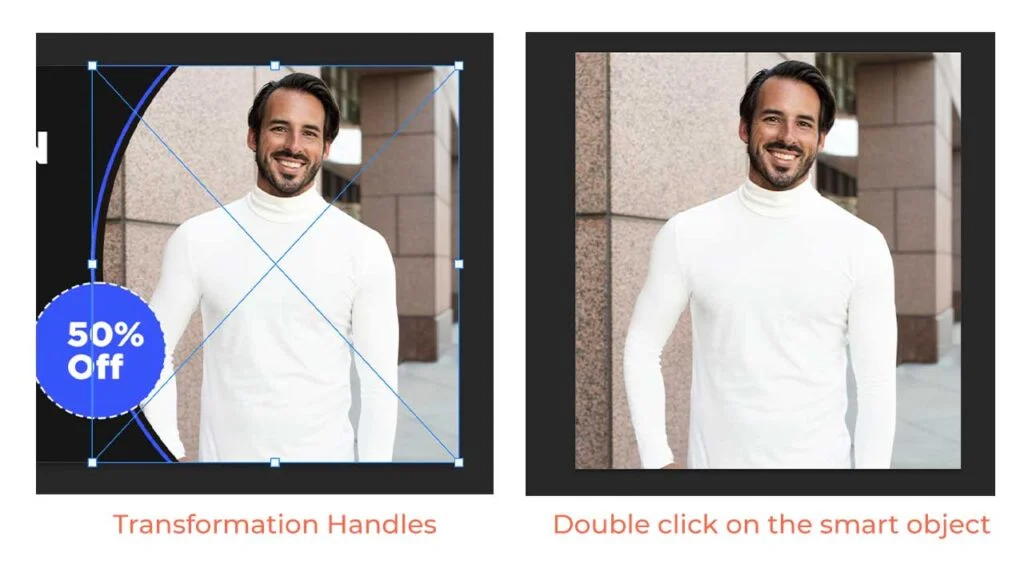
Now, you can see that the transformation handles are changed. And when you double click, you can that the image is resized. Now, if you want to replace it with a new image in the design, double click on the image layer and import an image, adjust it and then save it. The image in the design will be replaced.
So this is how you can create a template, and make it editable, easily.
Tip: If you want to use this template to create an Instagram post, see how you can resize social media graphics in photoshop here.
The key advantage of using templates is you can replace images, fonts, change the text and shapes and create a new social media post easily. It saves a lot of time and effort.
So make sure you create a certain number of templates for the content types that you post frequently. I hope you found some value in this article. Thanks for reading.