
Using social media to drive traffic, generate leads, make sales, etc. has become the new marketing normal.
Considering the huge amount of competition for attention on these social platforms you need to create some eye-catching designs to see some kind of success.
But that’s only half the work done if you are trying to be omnipresent (active on multiple social platforms). Oh! Why is that?
Well, that’s because what works on Facebook, may not work on Pinterest.
Obviously, I am not saying that you should create a whole new design from scratch to promote the same kind of content or product on social media.
There is a better way to do it. It’s called repurposing content.
And it’s definitely not about posting the same kind of content on all social platforms.
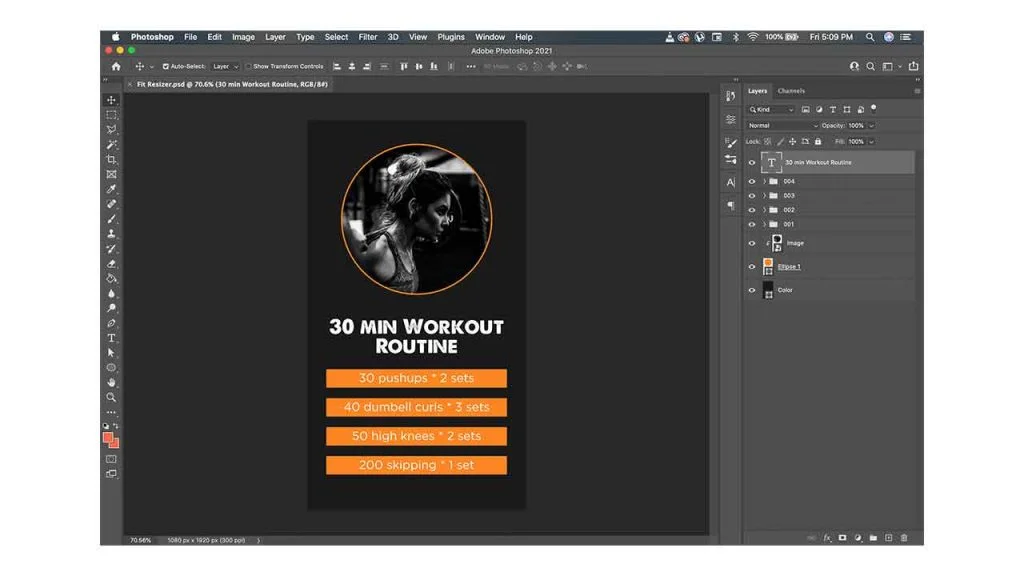
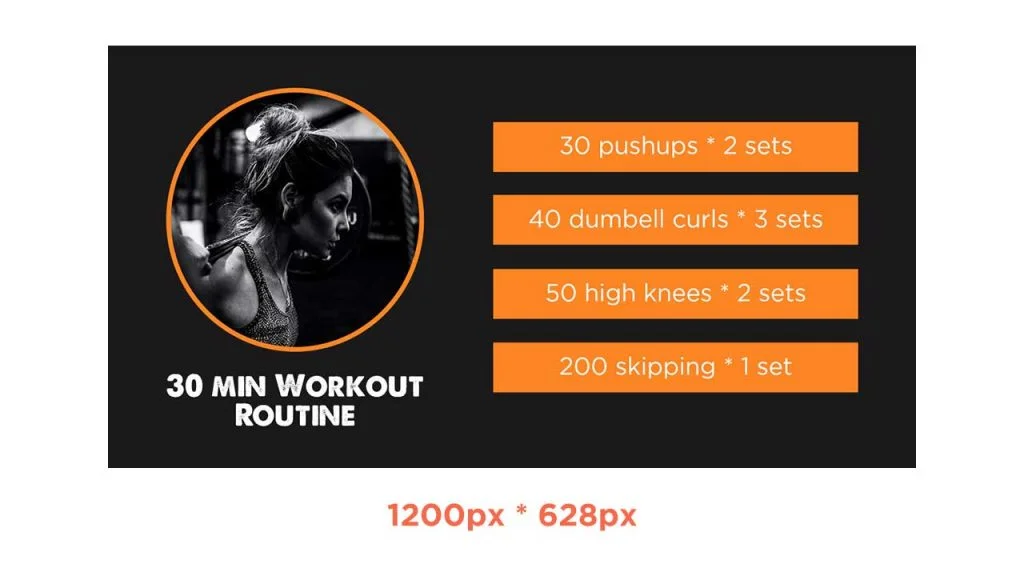
For example, let’s say you have created a social media graphic like this in Photoshop, to post on Instagram Stories.

Now, you if want to post this graphic on Pinterest or Facebook, you can post them directly but it’s not a good repurposing practice.
Why is that?
Becuase Instagram Story Size (1080px * 1920px ) is different than Facebook Landscape Image Size (1200px * 628px) & Pinterest Pin Size (1000px * 1500px).
The right way to repurpose content is to post the content by resizing the graphics to the right sizes in the right way.
Yeah, I know! Too many “rights”.
Let’s see how we can do that:
Now, to explain this process, I’ll be taking an image from Pexels.
The goal here is to resize the image in such a way that it fits well on Instagram.
So, let’s get started.
Because Instagram recommends 1080px * 1080px (the right size in this case), create a new canvas on Photoshop of the same size.

Now import the image that you want to resize for the Instagram platform. You can do that by going into File (top menu) and then clicking on “Place Embed”. And you’ll get this:
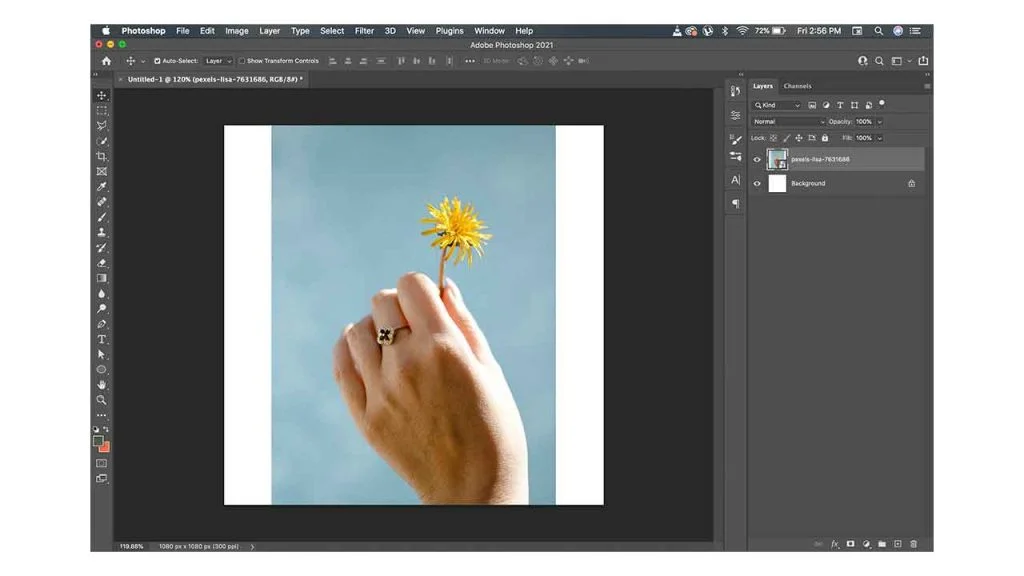
The white border around the image is due to the already existing default background layer of the color white.
You can click on the lock icon to remove the lock and press delete on the keyboard to delete the layer.
Then click on the image layer and hit CTRL+T (or CMD+T) to get the transform handles on the image.
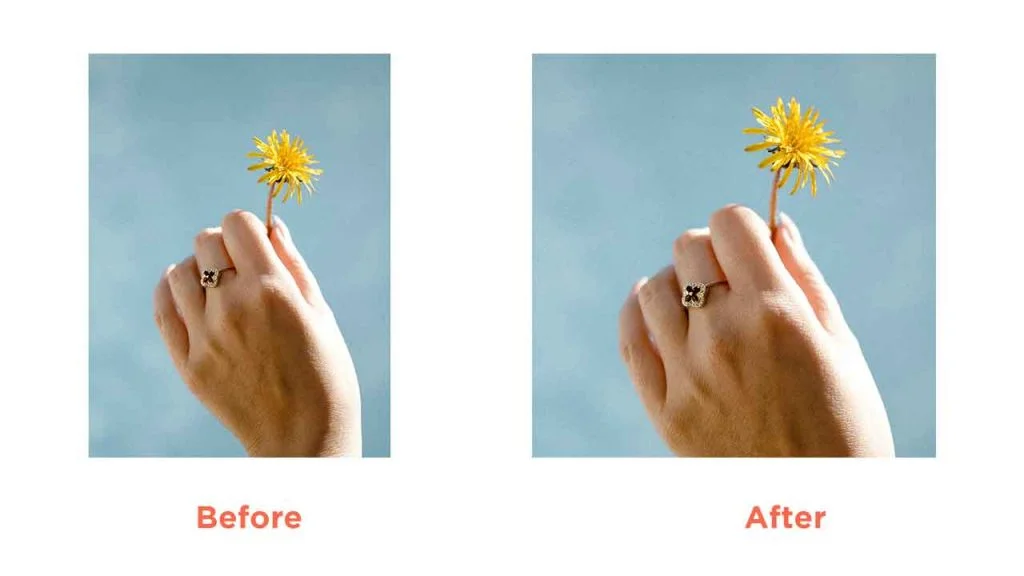
Then scale it to fit on the canvas. Click on both Alt (or Opt) and Shift keys to scale equally in all directions from the centre.
And the before after-transformation looks like this:
Now one more thing to consider here is since the image I’ve chosen is of portrait size, I could’ve tried the 1080*1350 canvas instead of the square one as Instagram supports the portrait size also.
In that case, this will be the result:
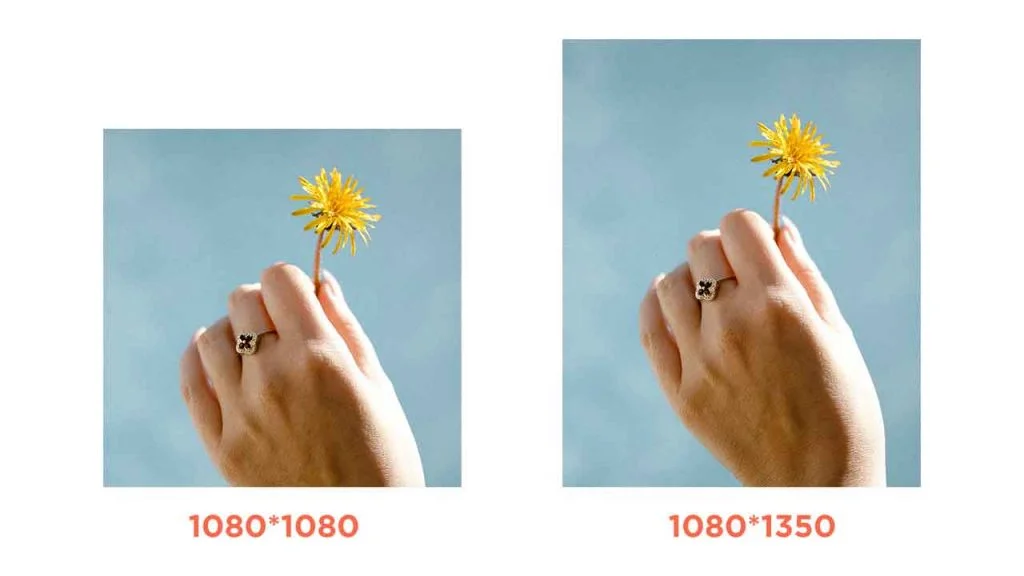
It looks better than the square one as the hand looks complete in the latter one.
And if the image you choose is in landscape size, you can go with 1080px * 566px which is also something that Instagram recommends.
So, it’s just a matter of you understanding the best sizes of all social platforms that you are active on and resizing the images for those platforms.
Important Advice: Instead of copy-pasting or place-linked, always go with the “Place Embed” option while importing images into the Photoshop document. Doing that will convert the image layer into a smart object. And with smart objects, you can transform the image non-destructively without losing the image quality. So, this is resizing in the right way.
To resize an image, we have created a new file on Photoshop, imported the image, and then adjusted the image to the canvas size. But in this case, we will not be creating a new file. We will be working on the same PSD file, to resize the whole graphic.
So the goal here is to convert an Instagram Story into a Pinterest Pin.
First of all, go to File, click on Save As from the File menu and save it with a different name so that you keep the original version. Once you do that, click on Image (from the top menu) and choose Canvas Size. Then change the resizing values. In this case, since we are resizing for Pinterest, W=1000px, H=1500px.
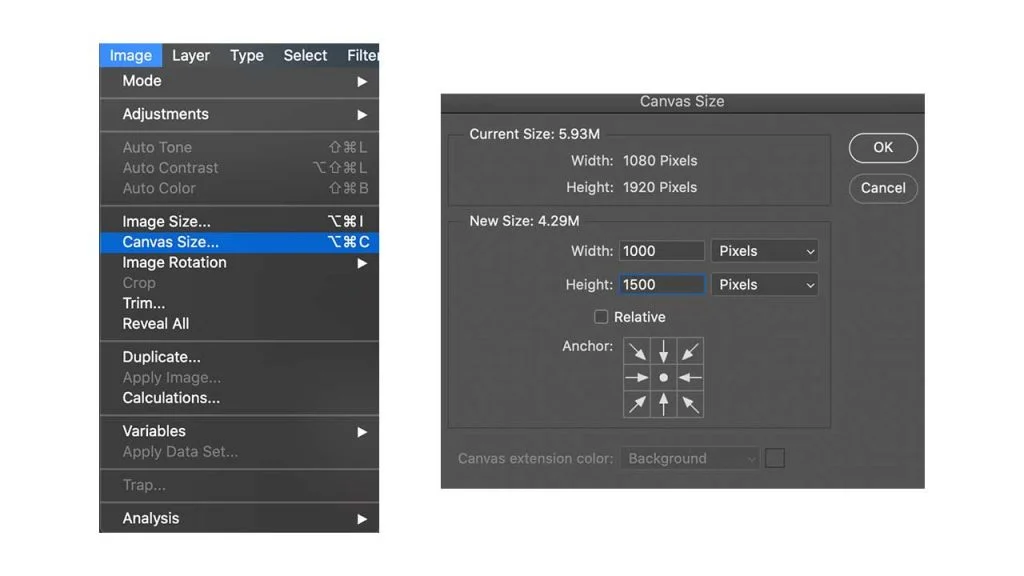
Click on OK, and then click Proceed.
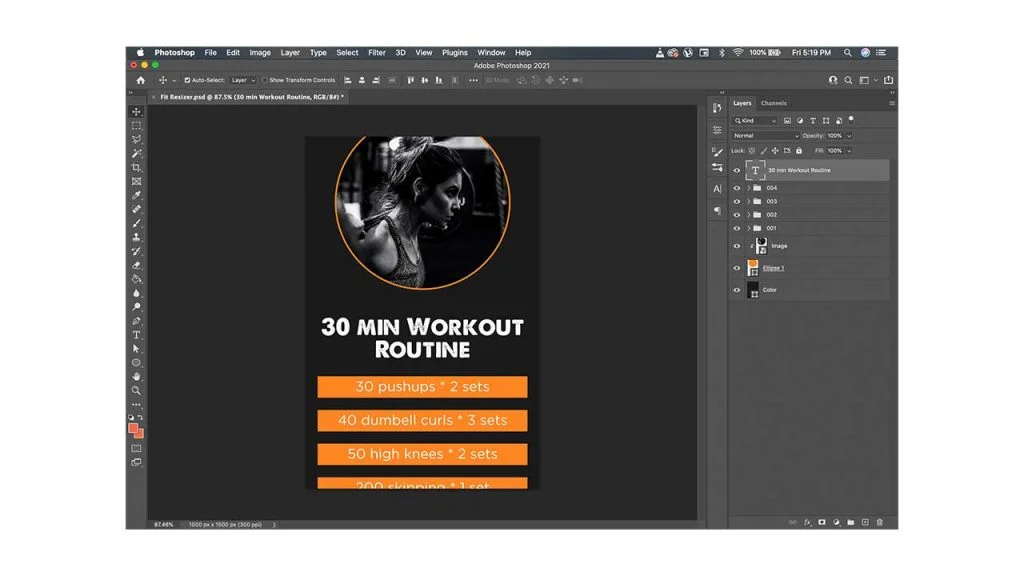
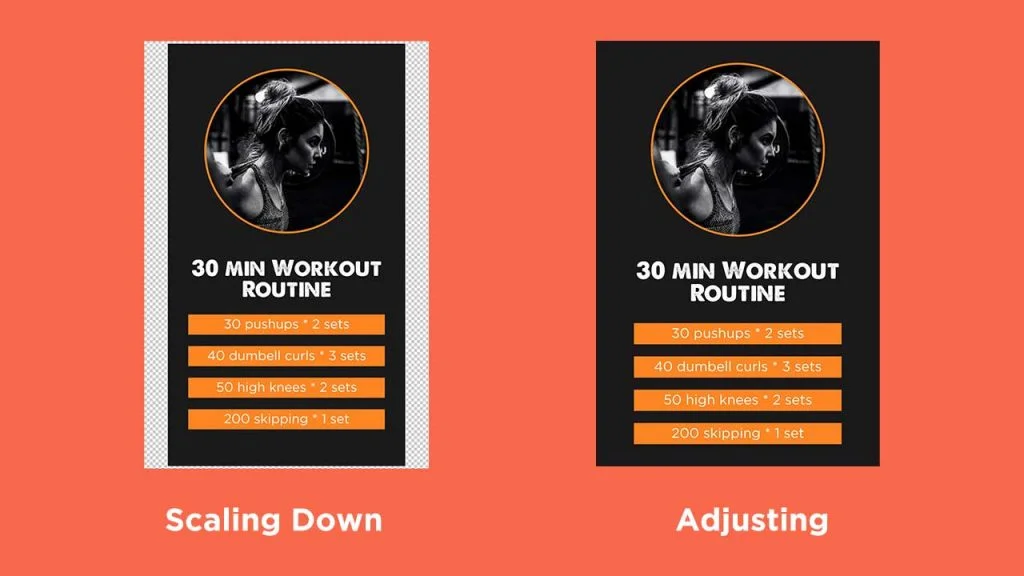
Now, it’s clear that the graphic got cropped a bit. So you need to scale down all the layers and then adjust all the graphic elements in such a way that it fits the whole canvas.
Let’s say you want to resize the graphic to a Facebook image (landscape version: 1200px * 628px), the process is the same.
But the adjusting graphic elements part gets a bit hard in this case as we are converting a portrait-size graphic into a landscape one.
Find out the right sizes for the social platforms on which you want to build a presence.
Go with Smart Objects in Photoshop. Scale (Up or Down) and adjust the image or graphic elements to the new canvas size.
It’s that simple. I hope the whole resizing process made sense and helped you somehow. Thanks for reading!

